Bench note
Sinking and raising a spoon bowl
A spoon bowl is not stamped out of sheet. It is driven down in stages, and the metal gets thicker at the rim as it goes.
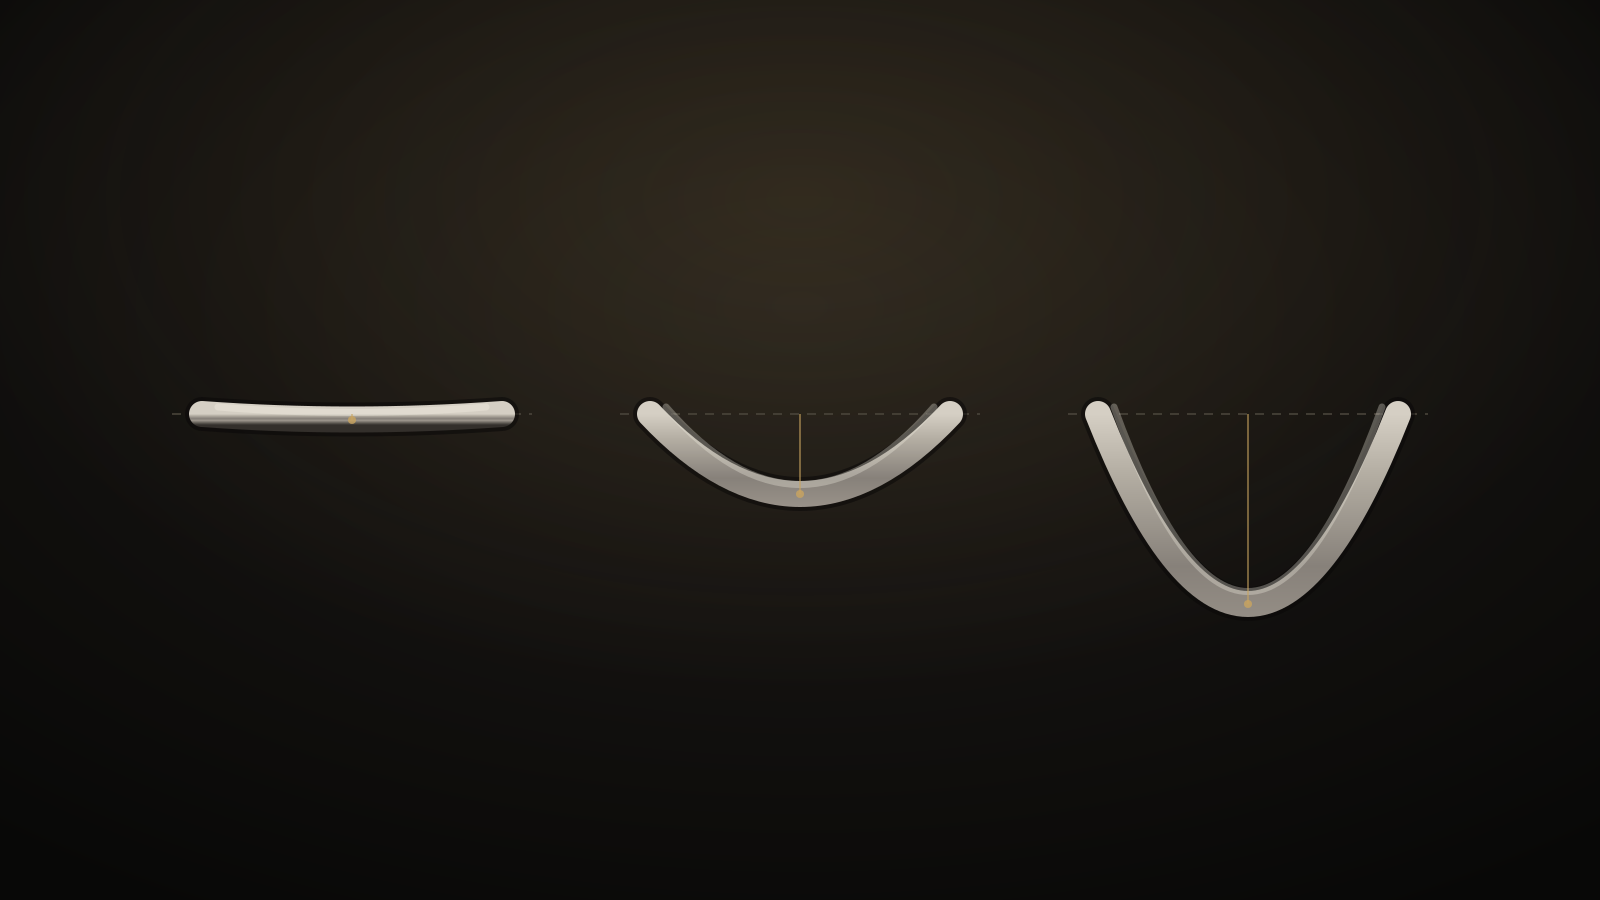
Most spoons you own were pressed. A blank goes between two dies, a machine comes down on it, and the bowl appears in one action. It is a good process and it makes a perfectly good spoon. It also stretches the metal, which is why a pressed bowl is thinnest exactly where it does the work.
A raised bowl goes the other way. You start with a flat disc and you compress the metal inward, so the walls thicken instead of thinning. It takes a couple of hours instead of a couple of seconds. The difference is real, and you can feel it with a fingernail on the rim.
Sinking, first
Sinking is the easy half. A shallow hollow is cut into an end grain block of wood, and the disc is held over it and struck with a domed hammer, working in a spiral from the centre out. The metal has nowhere to go but down, so it sags into the hollow. Twenty minutes of that and you have a shallow dish.
The bowl is now the right depth in the middle and the wrong shape everywhere else, and the rim has gone wavy, because the outside of the disc is being asked to travel further than the inside.
Raising, second
Raising is where the shape actually comes from. The piece goes over a steel stake and you strike just above the point where the metal touches the stake, working round and round, each course a little further up the wall. You are not stretching it down, you are pushing the wall in toward the centre, and the metal that has nowhere left to go gets thicker.
Between every course the metal work-hardens and has to be annealed, which I have written about in the note on annealing. A teaspoon bowl takes three or four courses. A 120 mm bowl in vessels and bowls takes closer to sixteen.
The wavy rim
Every raised form goes through an ugly stage where the rim looks like the edge of a bottle top. That is normal. The excess is worked back in, course by course, with the hammer angled slightly so it drives the high spots down rather than flattening them outward. Beginners try to cut the waves off. It works once and then you have a bowl with a thin rim.
Planishing
By the end of raising the surface is a landscape of overlapping hammer marks. Planishing is the pass that makes it a surface again: a polished flat-faced hammer against a polished stake, and the metal squeezed between the two. Each blow leaves a small facet. Overlap them evenly and the bowl reads as a smooth surface with a faint texture under the light. Overlap them badly and it reads as a mistake.
Planishing is also the last chance to true the shape. A bowl that is 1 mm out of round can be walked back into round here. A bowl that is 4 mm out cannot, and should have been caught two courses ago.
Joining the handle
On the smaller spoons in spoons and small tools the bowl and handle are one piece, forged out from a single bar, so there is no join to hide. On the caddy spoon and the preserve spoon they are made separately and hard soldered, because the shapes want different thicknesses of metal and forcing them out of one bar wastes both time and silver.
Where there is a join, it will be visible under close light, and I say so on the listing.
Why it matters
A raised bowl is stiffer than a pressed one of the same weight, and it wears in rather than wearing through. That is the practical case. The other case is that the tool marks are the record of how the thing was made, and I would rather sell an object that admits to its own making than one that pretends it arrived finished.
In sequence